If you haven't cleaned your Keurig coffee machine in a while, it's probably time you do. Like with every other appliance, proper maintenance of your brewer is crucial to its well-being. So, take good care of your Keurig. After all, it's responsible for producing your much-needed morning brew to start your days right. Although you may argue that other coffee makers or small coffee machines are better than a Keurig, its convenience is unmatched. Still, unlike traditional brewers, most Keurig k-cup models retain water in its reservoir for a more extended period, leading to mold and mineral deposit buildup. Whether you operate a Keurig Vue or k400, you must learn how to clean a Keurig coffee maker and take care of it to ensure optimal functions and conditions. I will help you with all you need to know in this article with a DIY guidance.
Signs it may be time to clean a Keurig's parts is that it takes longer to make a cup of coffee, only fills half a cup, find excess grounds or granules in your brewed coffee, a musty aroma, and mineral deposits build up on visible parts of the machine. Generally, you can clean Keurig machines using a wet or soapy cloth, vinegar, descaling solution, or a water-vinegar mixture. If you've been having trouble, this guide will help you through the ins and outs of cleaning a Keurig, descaling it, and more.
The Best Coffee Machines that You Can Buy Online.
Extensively Reviewed by a Coffee-Enthusiastic.

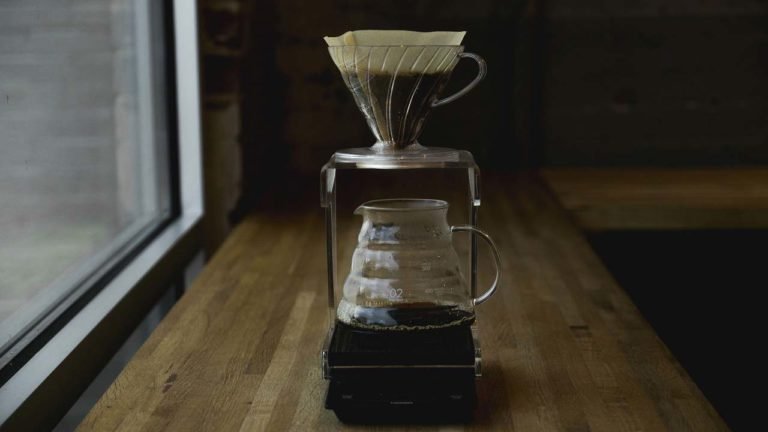
How to Clean a Keurig by yourself

If you've been wondering if are Keurig's worth it? The answer to that is yes, as long as you take care of it properly, you get a brewer that can whip up fresh coffee for years. A coffee maker can develop minerals such as calcium deposits buildup in its internal parts and harbor all sorts of harmful bacteria, making your cup taste less-than-ideal and compromise the lifespan of your appliance and your health. That's why you need to clean your Keurig and descale it routinely. It’s easy to do, once you know how to clean a Keurig coffee machine.
Plus, Keurig recommends cleaning the water reservoir, drip tray, and k-cup holder weekly. As for the water filter replacement, you can do that every two months or so. Before you go and learn about making coffee without coffee maker as a last resort when your machine breaks down, here are the steps for cleaning your Keurig using an unusual but effective ingredient — natural citric acid.
- Prepare your ingredients and items, including lemon juice, a ceramic mug, and fresh water.
- Fill the water reservoir of the Keurig machine using a half and half mixture of water and lemon juice.
- Put the ceramic mug on the stand of the device.
- Without placing the k cup or pod on your Keurig's k cup holder, turn on the machine, and start the brew cycle until it dispenses the water into the mug. Pour its content and repeat the process until you empty the water reservoir of the lemon juice and water.
- After emptying its initial content, fill the reservoir again using only plain water this time.
- Rerun the brew cycle with the mug intact. Continue to do this step until you can no longer taste lemon in the water.
How to Descale Keurig Coffee Makers
Descaling is vital if you want to continue indulging in a freshly brewed cup from your Keurig on demand. Excess mineral content or limescale buildup is the scourge of kitchen appliances, from gourmet coffee makers to your classic Keurig machine. When this happens, it can leave your brew tasting foul or even causing the device to malfunction. Descaling your Keurig usually is best every 3 to 6 months, or monthly if you use the machine often. However, many modern Keurig models have an automatic descaling reminder function that indicates its dialog window or screen when it needs cleaning. However, if the type of Keurig you have at home doesn't have this function, make a note on your calendar site when your machine needs a descaling process. A fast remedy you can do is using a descaling solution, which is an excellent alternative for white vinegar that most people use for descaling their Keurigs. For a more in-depth guide, here's how to descale Keurig.
- Grab the ingredients and items you need, including dish soap, vinegar, fresh water, and dry cloth.
- Turn off the brewer and unplug the machine from its socket for safety.
- Remove the Keurig's reservoir and lid, take off its mug stand and pod holder. In essence, remove all its 'removable parts.'
- Wash each part in warm soapy water. The best way to do this is by focusing on one component at a time.
- Wipe them off with a dry cloth.
- Wipe the machine's exterior using a clean and damp cloth. Besides that, remember to include the filter holder and k cup holder as spilled ground coffee beans usually gather here.
- Now let the removable parts dry, put them back in their respective places, and plug in the machine.
- Fill the water reservoir halfway with vinegar and top it off with water.
- Put a mug in position and begin the brewing cycle but don't put in a k cup. Repeat the descaling process until the reservoir is empty. Doing this breaks down any gunk or mineral deposits.
- To remove the machine's 'vinegar' taste, repeat the process with only water until the flavors subside.
How to Clean Keurig with Vinegar
No matter the Keurig products or special editions you have, there will be times you'd get a cup that doesn't taste right. Neglecting your machine exposes it to bacteria that usually finds its way to your morning brew, giving you a less-than-ideal cup. Besides knowing how much coffee grounds to use or which k-cup works best with your Keurig, cleaning it is also an essential task, you should add to your page of responsibilities. It saves you money and time from hunting deals on your next brewer. You don't worry because the steps below can help you ensure your Keurig clean's up well and give you the freshest and best-tasting brews yet. The best way you can ensure your brewer is spotless is to clean Keurig with vinegar, allowing you to make coffee with coconut oil recipe you've been aching to do. Here's how you can do just that.
- Unplug the machine for safety.
- Disassemble and wash the removable parts using warm and soapy water, then leave them to dry for a couple of minutes. These include the water filter, reservoir, lid, mug stand, and k-cup holder. Just make sure to watch out for the sharp puncture needle.
- Wipe the machine's exterior using a dry cloth.
- Grab the white vinegar of your choice to help remove limescale buildup properly. Fill the reservoir halfway with the white vinegar.
- Fill the rest of the tank with plain water.
- Begin a brewing cycle without using a pod and repeat the process until it empties the water tank.
- After emptying the tank, repeat rinse using water to remove any residue vinegar flavors
- Start brewing as usual.
The Best Coffee Machines that You Can Buy Online.
Extensively Reviewed by a Coffee-Enthusiastic.
Conclusion
Whether you love them or hate them, coffee pod systems have carved a page in the morning coffee market's book, and one of the most famous names you'd see featured on any web site is Keurig. If you use this type of coffee machine, you'd know how vital it is to brew you a cup of coffee without issues every morning — or even all day, depending on your drinking habit. Although convenient, machines that you use every day eventually get clogged with mineral and bacterial buildup, resulting in possible health issues as well in worst case of the system shutting down completely, and nobody wants that.
That's why instead of finding a way to get great deals to replace your brewer, prevent the problem from happening in the first place by practicing Keurig cleaning products routinely to save you money, time, and great coffee. How often you clean the brewer will depend on how frequently you use the coffee machine. For instance, if you use it every day, it's best to clean its exterior once every one to two weeks and its internal components every three to six months. I hope this article helped you learn how-to-clean-a-Keurig, helping you only make fresh and tasty brews, saving you money, time, and avoid hectic mornings.

As a coffee enthusiastic I share with you my latest and greatest coffee news and insights. I always interested in trying out new things about the best bean of the world which I sahre to you all as I want you to also enjoy the cup of coffee as much as I do. Due to my experience I will collect newest information for you I find around the globe, buy machines to help you understand and rate them correctly which may help you to decide better which one to buy. I´m always open to your feedback, so don´t hesitate to contact me anytime :-)
More Posts in this Category:
